Mitsuba Renderer: An unbiased physically based renderer written by Wenzel Jakobs who is a PhD student at Cornell. It is inspired and takes a lot of its design from the PBRT renderer of Matt Pharr. More details about this amazing renderer can be obtained from http://www.mitsuba-renderer.org/ I highly recommend this renderer to any student/researcher who is working on physically based rendering.
While the Mitsuba documentation is very well written, it lacks basic tutorials that teach the user how the whole system works and this blog post will try to address these issues so lets get started.
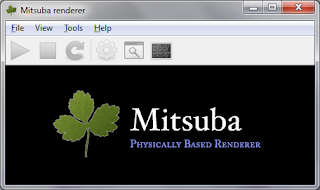
If you have not done so then please download the latest binaries from the above mentioned website. As of this writing, the current version is 0.4.4. Extract the zip file to the root directory. In the binary package, there are a bunch of dlls (boost, OpenEXR, and others) and then there are a bunch of executables including the two main executables: mitsuba.exe (the main renderer) and the mtsgui (the Qt based GUI front end for the renderer). The mtsgui is the tool we will look at in this tutorial. This tool reads an XML based scene description written in any XML editor, parses it and renders the scene. When you run mtsgui, you get this window
This is a simple getting started tutorial for Mitsuba. For more details about the mtsgui interface options, go through this video by Wenzel Jakob http://vimeo.com/13480342. I will follow up with more tutorials as and when time permits. You can download the final sphere.xml from here https://www.dropbox.com/s/i0gv68zw9211yo4/sphere.xml
While the Mitsuba documentation is very well written, it lacks basic tutorials that teach the user how the whole system works and this blog post will try to address these issues so lets get started.
If you have not done so then please download the latest binaries from the above mentioned website. As of this writing, the current version is 0.4.4. Extract the zip file to the root directory. In the binary package, there are a bunch of dlls (boost, OpenEXR, and others) and then there are a bunch of executables including the two main executables: mitsuba.exe (the main renderer) and the mtsgui (the Qt based GUI front end for the renderer). The mtsgui is the tool we will look at in this tutorial. This tool reads an XML based scene description written in any XML editor, parses it and renders the scene. When you run mtsgui, you get this window
 |
| The mtsgui window (The graphical front end to Mitsuba) |
Hello World Mitsuba
Go ahead and create a new XML document in your favorite editor. I usually prefer MS Visual Studio as it provides a lot of neat tools. Add the following contents to it.
< ? xml version="1.0" encoding="utf-8"? >
< scene version="0.4.4" >
< shape type="sphere" >
< float name="radius" value="1"/ >
< /shape >
< /scene >
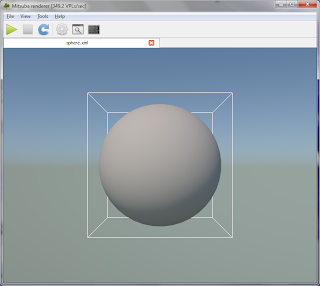
This is a very simple scene that displays a simple unit sphere on screen. All other settings like camera position, fov, sphere's material, environment map are assigned their default values. Go ahead and save the XML as sphere.xml in a suitable place. Go to mtsgui and open this scene. When you open this scene, you will see that your sphere will occupy the entire rendering window as shown below.
 |
| The sphere.xml scene rendered in mtsgui |
This is the preview render of our scene. We can use the left mouse button to rotate the camera and use the up/down arrow keys to zoom in/out etc. Single left mouse click on our sphere selects it while double clicking on it zooms out the camera to properly display the sphere (similar to zoom extents of 3DSMax). Go ahead and double click on the sphere. This will give us the following output in mtsgui window.
 |
| Sphere after double clicking in mtsgui window |
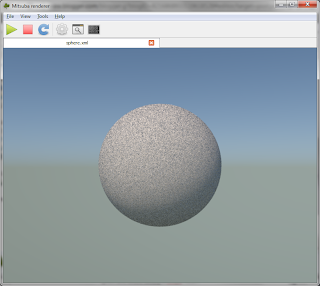
Now press the play button which will render our scene using path tracing as shown below.
 |
| Our sphere object path traced |
Happy path tracing.


3 comments:
good morning sir
please i would like to ask you a question about mitsuba,especially when i 'm getting to create my integrator ,i didn't understand exactly what meant by this (the whole framework is located in a separate namespace named mitsuba, and the
lines starting with MTS NAMESPACE ensure that our integrator is placed there as well.)
I think you are referring to the c++ API. You can refer to the development guide in Mitsuba documentation which shows you how to make your own plugin.
thanks a lot sir
i will check it
Post a Comment